12
Feb
Posted By Avonlea Kitchen + Bathroom Concepts
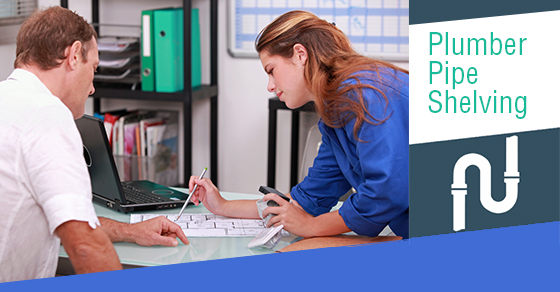
How To Create Plumber Pipe Shelves
Recently many renovation experts have been discussing how to create shelving units with easy-to-use materials, and plumper pipe shelving is quickly becoming a popular choice.
Because of its durability and sturdy performance within a range of home areas, this fast-growing DIY favourite is proving to be a great alternative to traditional shelving. Within this blog, we’ll provide guidance on how to create plumber pipe shelves within your own home.
Start with the Measurements
The beginning element of any home DIY project is taking accurate measurements for the space you will be using.
Begin by measuring the space in which the shelving will be placed. Keep in mind that standard stock pipe comes in 12”, 18” and 24” pieces. Unfortunately, these measurements don’t always fit the desired space, in which case you’ll have to get pieces custom cut.
Most large hardware stores are able to do this, but many charge for each cut, and to have the pipe threaded on each side. This can get expensive, so beware of this during your initial budgeting.
As you begin taking measurements, you should also consider the supporting structure. Each 6 feet of shelving requires three supports for each shelf.
Collect all Required Fittings
For effective placement of your plumber pipe shelves, you’ll require fittings such as couplers, elbows and flanges. These fittings should be close to two inches in size. Collecting the fittings will help you complete the measurement process.
You’ll also have to measure the width of the pipe you’ll be using to ensure your fittings will be of proper size.
Decide on how many Shelves you want
Whether you want two, three or four shelves, decide on how many will suit your room and get wood cut accordingly. Be mindful of what you’re planning to keep on the shelves- The heavier the items, the thicker the wood should be.
Building Your Pipe Shelving
Luckily cutting the pipes and finding the wood is the hardest part- The actual building takes very little time!
Your pipes will be held together with the flanges, elbows and couplers. Each completed rod can be secured to the wall by drilling the flanges into drywall plugs. Once the piping fixtures are secured, simply lay your wood on the supporting bars and you’re finished!
Your new plumber pipe shelving will offer lasting decorative and functional value within the home. It’s a fun design process that provides a rewarding DIY experience for the committed home designer, however there are a lot of areas that the project can go awry- A simple miss-cut by the specialist at your hardware store can cause the unit to be uneven, leaving the shelves to sit slanted.
If you’re interested in installing pipe shelves in your home, consider hiring a professional to do the job right!
Leave a Comment
The comments are closed.